
Gardening enthusiasts and homeowners alike know the frustration of a leaking garden hose. Not only is it a waste of water, but it can also be a hindrance to outdoor tasks. Fortunately, fixing a hose leak often doesn’t require professional help or expensive tools. This article delves into how to replace a hose end, ensuring your garden hose is in top working condition.
Table of Content
Identifying the Problem
Leaks in a garden hose usually occur at the connections. If your hose leaks at the female end that connects to the spigot, a worn-out washer might be the culprit.
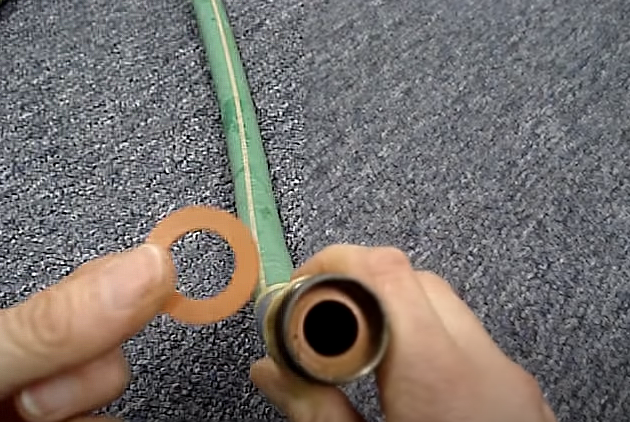
Similarly, if it’s leaking at the male end connected to a sprayer, and replacing the washer hasn’t solved the issue, then the hose connector is likely at fault.
Getting the Right Connector
The trickiest part of this repair might be finding the correct connector for your hose. In the United States, the threads on hose ends are standardized, with female connectors attaching to faucets and male connectors fitting sprayers. However, hoses vary in size, commonly 5/8 inch for household use and 3/4 inch for commercial applications.
Steps To Replace Hose End
Measure and Cut
Use a sharp knife to cleanly cut off the damaged end of the hose. It’s essential to make this cut as square as possible to ensure a proper fit with the new connector.

Selecting the Right Mender
At your local hardware store, look for “hose menders” corresponding to your hose’s inner diameter. It’s vital to choose a mender that exactly matches your hose size to avoid leaks.

Installation
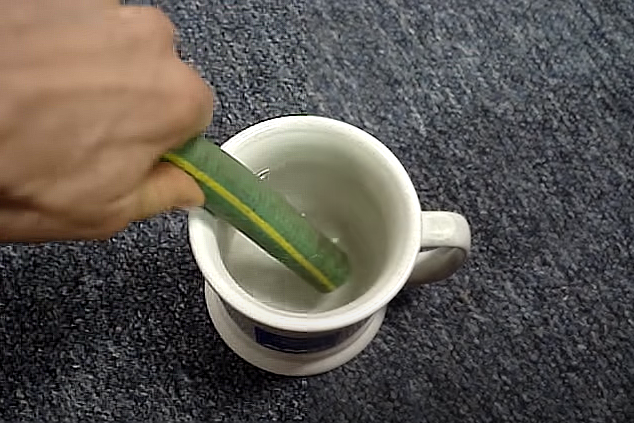
For a snug fit, especially with thicker hoses, soften the cut end in hot water for a couple of minutes. This makes it easier to work with.
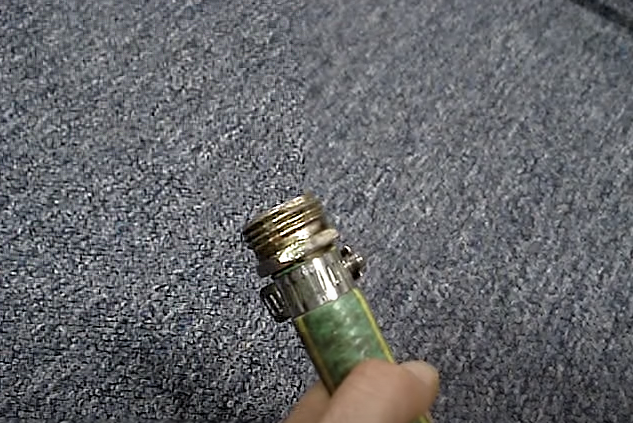
Slide the cut end into the mender, ensuring a tight seal.

For compression fittings, this involves securing the hose in the mender’s gap and tightening to close. If using a hose clamp type, tighten the clamp around the hose and mender using a screwdriver or nut driver.
Final Check
After installation, test the hose for leaks. Proper installation should result in a leak-free connection, ready for use.
Pro Tips
- Avoid hose menders that claim to fit both 3/4 inch and 5/8 inch hoses. These often provide a poor fit, leading to leaks.
- Consider the design of the hose mender. Some models with bulky clamps can be sharp and prone to leaking with various attachments.
Conclusion
Replacing a hose end is a straightforward process that can save you time and money. By following these steps, you can ensure your garden hose remains a reliable tool for your gardening and cleaning needs. Remember, the key to a successful repair is selecting the right connector and ensuring a tight, leak-free fit.