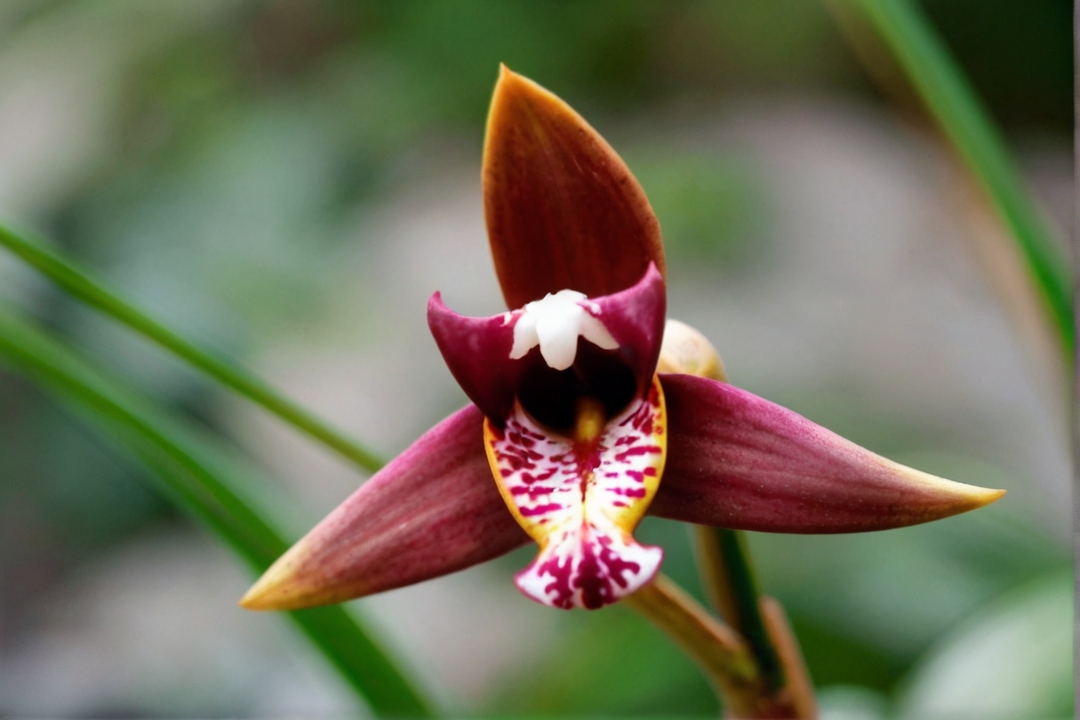
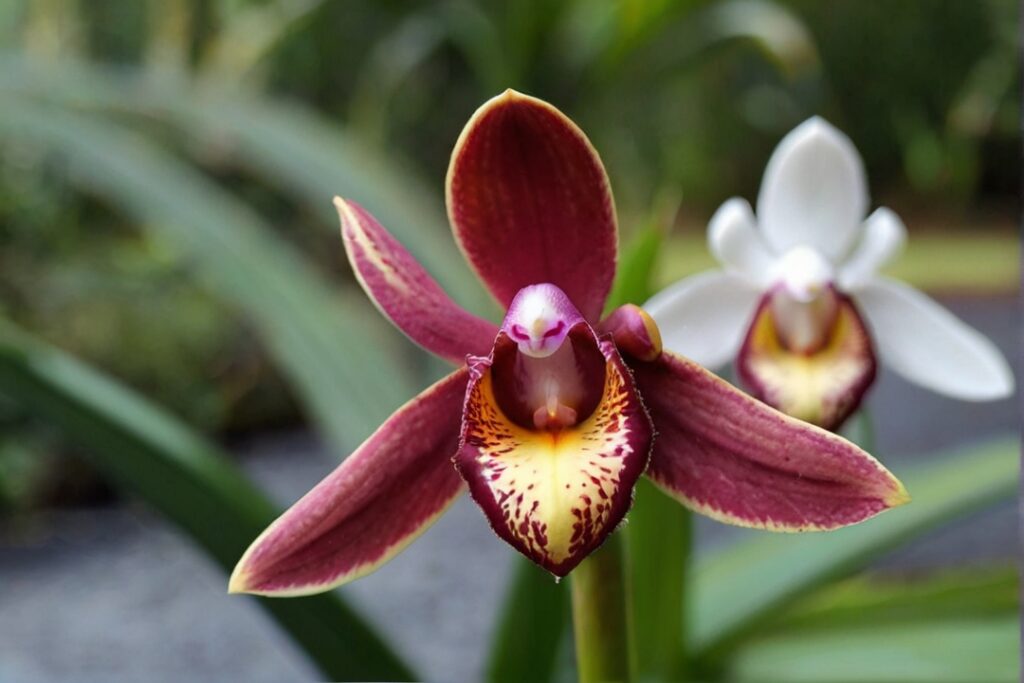
The coconut orchids, primarily known as Maxillaria tenuifolia, stand out among orchids due to its unique coconut scent and striking appearance. This orchid species features singular, richly coloured flowers that exude a delightful coconut fragrance, making them a captivating addition to any collection. The blooms, typically found in shades of deep red or burgundy, are notable for their aroma and visually appealing contrast against the plant’s green foliage.
Table of Contents
- Choosing the Right Soil for Your Coconut Orchids
- Choosing The Right Pot
- How to Water
- Fertilizing Your Coconut Orchids
- Temperature and Light Conditions for Growing Coconut Orchids
- Repotting Your Coconut Orchids: When and How to Do It
- Common Problems and Pests
- Pruning and Propagating Coconut Orchids
- Display and Decorate with Coconut Orchids
- Enjoying the Beauty and Benefits of Coconut Orchids for Years to Come.
- FAQs
Maxillaria tenuifolia is also prized for its robustness and adaptability, thriving across various indoor environments with proper care.
It prefers moderate to bright indirect light, consistent moisture, and good airflow, making it well-suited for indoor cultivation. Its ability to adapt to various growing conditions and its unique fragrance make it a favoured choice among orchid enthusiasts for adding a tropical flair to their indoor gardens.
Choosing the Right Soil for Your Coconut Orchids
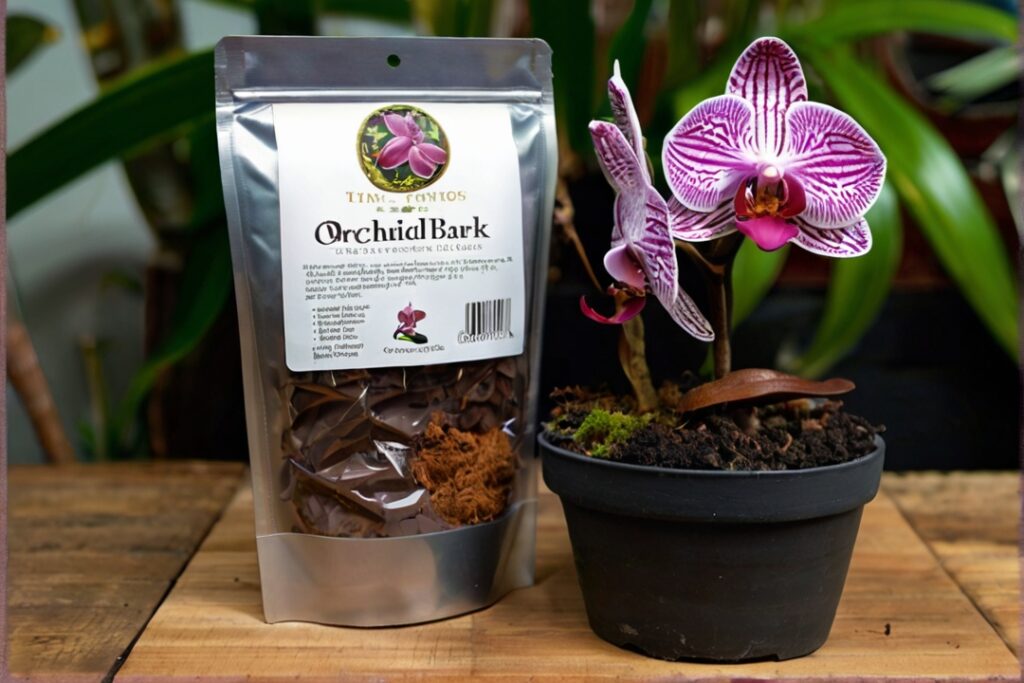
Choosing the suitable soil and pot for your coconut orchids is crucial for their health and growth. These orchids prefer a well-draining potting mix that is specifically formulated for orchids. This mix typically includes bark, sphagnum moss, perlite, and other organic materials.
Before planting your coconut orchids, prepare the soil by soaking it in water until it is thoroughly moistened. This will help ensure that the roots have access to moisture as soon as they are planted. Fill the pot with the wet soil mixture, leaving enough space at the top for the orchid to settle comfortably.
Choosing The Right Pot
When selecting a pot for your orchids, opt for one with drainage holes at the bottom to prevent water from pooling and causing root rot. Plastic or clay pots are both suitable options. Still, clay pots tend to dry out faster, benefiting orchids that prefer drier conditions.
How to Water
Proper watering and fertilization are essential for the health and vitality of coconut orchids. These orchids have specific water requirements and can be sensitive to overwatering or underwatering.
When watering your coconut orchids, it’s essential to balance keeping the soil moist and avoiding waterlogged conditions. Water the orchids thoroughly, allowing the excess water to drain from the pot. Avoid letting the orchids sit in standing water, leading to root rot.
Fertilizing Your Coconut Orchids
Regarding fertilization, these orchids benefit from regular feeding during their active growing season. Use a balanced orchid fertilizer that is specifically formulated for these plants. Follow the instructions on the fertilizer package for the correct dosage and frequency of application.
It’s important to note that coconut orchids require less fertilizer than other plants. Overfertilization can lead to salt buildup in the soil, harming the orchids. Monitor the health of your orchids and adjust your fertilization routine accordingly.
Temperature and Light Conditions for Growing Coconut Orchids
Temperature and light conditions play a crucial role in the growth and blooming of coconut orchids. These orchids have specific temperature preferences and require adequate light to thrive.
Coconut orchids prefer cooler temperatures, ranging from 60 to 70 degrees Fahrenheit during the day and 50 to 60 degrees Fahrenheit at night. They can tolerate slightly higher temperatures, but prolonged exposure to temperatures above 80 degrees Fahrenheit can cause damage to the plants.
Regarding light requirements, coconut orchids thrive in bright, indirect light. They should be placed where they receive filtered sunlight or bright shade throughout the day. Avoid placing them in direct sunlight, which can scorch their leaves and flowers.
If you’re growing coconut orchids indoors, place them near a window that receives bright, indirect light. You may need to supplement their light requirements with artificial grow lights if natural light is limited.
Repotting Your Coconut Orchids: When and How to Do It
Repotting is an essential aspect of caring for These orchids. It should be done periodically to ensure their continued health and growth. Signs that your orchids need repotting include overcrowded roots, poor drainage, or when the potting mix has broken down and no longer provides adequate nutrients.
The best time to repot coconut orchids is in the spring, just before their active growing season starts. This allows the plants to recover quickly and establish themselves in their new pots.
To repot your coconut orchids:
- Gently remove them from their current pots, careful not to damage the roots.
- Trim any dead or damaged roots with clean, sharp scissors or pruning shears.
- Place the orchid in a slightly larger pot with fresh potting mix, ensuring that the roots are spread out evenly.
After repotting, water the orchid thoroughly to help settle the potting mix and provide moisture to the roots. Avoid fertilizing for a few weeks to allow the plant to adjust to its new environment.
Common Problems and Pests
Like any plant, coconut orchids are susceptible to specific problems and pests that can affect their health and growth. It’s essential to be aware of these issues and take proactive measures to prevent and treat them.
Root Rot
One common problem that coconut orchids may face is root rot caused by overwatering or poor drainage. Ensure your orchids are planted in well-draining soil and pots with drainage holes to prevent root rot. Avoid overwatering and allow the soil to dry out slightly between waterings.
Bacterial Infections
Another common issue is fungal or bacterial infections, which can cause spots or discolouration on the leaves or flowers. Avoid getting water on the leaves when watering your orchids to prevent these infections. If you notice any signs of infection, remove the affected parts of the plant and treat it with a suitable fungicide or bactericide.
Pests
Coconut orchids can also be susceptible to pests such as aphids, mealybugs, and spider mites. Regularly inspect your plants for signs of infestation, such as sticky residue, webbing, or distorted growth. If you notice any pests, treat them with an appropriate insecticide or use natural methods such as neem oil or insecticidal soap.
Pruning and Propagating Coconut Orchids
Pruning and propagating coconut orchids are essential for maintaining their shape and promoting new growth. It helps to remove dead or damaged parts of the plant, while propagation allows you to create new plants from existing ones.
Use clean, sharp scissors or pruning shears to make clean cuts when pruning coconut orchids. Remove any dead or yellowing leaves or flowers, cutting them back to the base of the stem. This will help improve the overall appearance of the plant and prevent the spread of diseases.
Propagation can be done through division or by taking stem cuttings.
Division
To divide a coconut orchid, carefully remove it from its pot and separate the clumps of bulbs into individual plants. Ensure each division has a healthy root system and at least one new growth.
Cutting
Select a healthy stem with several nodes and aerial roots to propagate through stem cuttings. Cut the stem below a node and place it in a suitable rooting medium, such as sphagnum moss or perlite. Keep the cutting in a warm, humid environment until roots develop.
Display and Decorate with Coconut Orchids
These orchids are beautiful in their natural form. Still, they can also be used to create stunning displays and decorations. There are countless creative ways to incorporate coconut orchids into your home decor or special occasions.
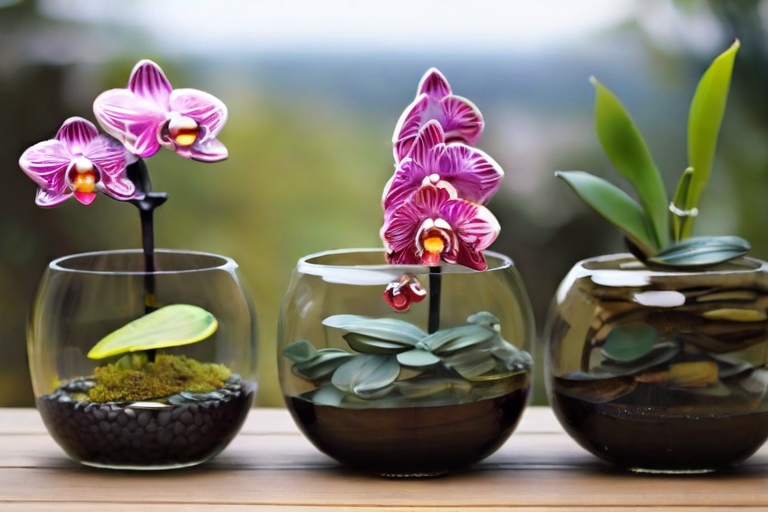
One popular way to display These orchids is by placing them in decorative pots or vases and using them as centrepieces on tables or mantels. You can hang them in baskets or mount them on walls or trees for a unique and eye-catching display.
Coconut orchids can create beautiful floral arrangements or bouquets for special occasions such as weddings or parties. Their long stems and showy flowers make them ideal for creating dramatic and elegant displays.
Coconut orchids can also be incorporated into other types of decor, such as wreaths, garlands, or terrariums. Their vibrant colours and unique shape add a touch of natural beauty to any space.
Enjoying the Beauty and Benefits of Coconut Orchids for Years to Come.
In conclusion, coconut orchids are unique and beautiful plants with a rich history and origin. Their striking appearance, resilience, and adaptability make them popular for indoor and outdoor gardening.
Understanding the different types of coconut orchids, choosing the suitable soil and pot, proper watering and fertilization, maintaining optimal temperature and light conditions, repotting when necessary, preventing and treating common problems and pests, pruning and propagating techniques, and creative ways to display and decorate with coconut orchids are all essential aspects of successfully growing these plants.
By following these tips and guidelines, you can enjoy the beauty and benefits of coconut orchids for years to come. Whether you’re a seasoned gardener or a beginner, growing coconut orchids is a rewarding experience that will bring joy and beauty to your home or garden. So why not start growing and enjoying coconut orchids today?
FAQs
Can coconut orchids be grown indoors?
Yes, they can be grown indoors as long as they receive enough light and are kept in a warm, humid environment.
Do coconut orchids have any medicinal properties?
There is no scientific evidence to support any medicinal properties of these orchids.
Are coconut orchids endangered?
Coconut orchids are not currently listed as endangered, but their natural habitat is being threatened by deforestation and habitat loss.