
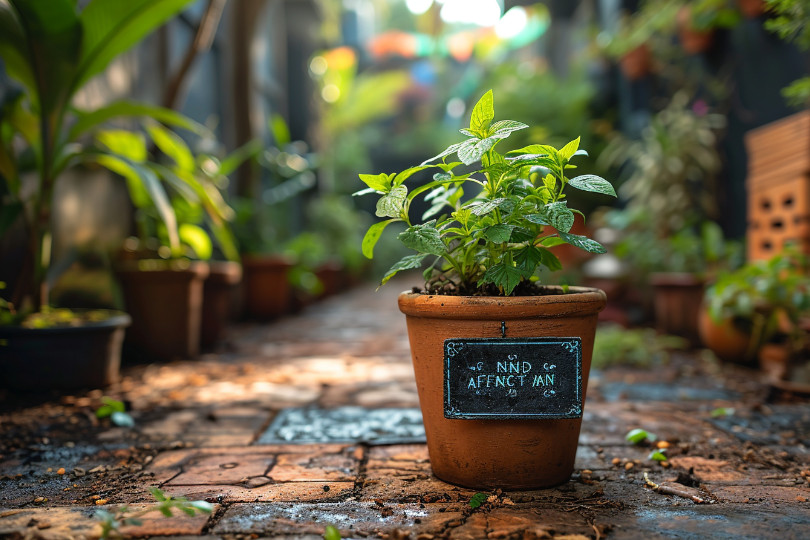
Growing your ashwagandha plants can be a fulfilling and rewarding experience. For centuries, Ayurvedic medicine has utilized a potent adaptogenic herb called Ashwagandha, also known as Indian ginseng. It reduces stress, improves sleep, boosts immunity, and enhances overall vitality.
- Step 1: Choosing the Right Environment
- Step 2: Preparing the Soil for Optimal Growth
- Step 3: Planting and Caring for Ashwagandha Seeds
- Step 4: Maintaining the Health of Ashwagandha Plants
- Step 5: Harvesting and Storing Ashwagandha Roots
- Step 6: Expanding Your Ashwagandha Cultivation
- Conclusion: The Benefits of Growing Ashwagandha Professionally
This article is designed to equip experienced and novice gardeners with the necessary knowledge to cultivate Ashwagandha in their homes, ensuring successful growth. We will provide complete guidance on growing ashwagandha plants, from choosing the perfect location and soil to the planting process and caring for them. So, let’s get started and learn how to grow Ashwagandha!
Step 1: Choosing the Right Environment
Choosing the right environment for growing Ashwagandha is crucial to ensure optimal growth and yield. Ashwagandha plants prefer a warm and sunny climate, so choosing a spot that gets at least 6-8 hours of direct sunlight daily is crucial.
In terms of soil, Ashwagandha thrives in well-draining soil that is rich in organic matter. Before planting, it is advisable to improve the soil’s fertility and drainage by mixing it with compost or aged manure.
Additionally, Ashwagandha is a drought-tolerant plant but performs best when provided with moderate moisture. Therefore, it is essential to strike a balance by watering the plants consistently, ensuring the soil doesn’t become too dry or soggy.
Lastly, when choosing a suitable space for growing Ashwagandha, consider factors such as the availability of space, protection from strong winds, and ease of access for maintenance.
In the following section, we will discuss the process of planting and caring for ashwagandha plants to ensure successful growth.
Step 2: Preparing the Soil for Optimal Growth

Now that you have chosen the right location for your ashwagandha plants, it’s time to prepare the soil to give them the best chance of thriving.
Ensure that any weeds or debris are removed from the area, as they can impede the growth of your ashwagandha plants. You can utilize a garden fork or tiller to loosen up the soil to a depth of approximately 12 inches. This will enhance the composition of the soil and make it easier for the roots to penetrate.
Once the soil is loosened, it’s essential to test its pH level. Alkaline soil with a pH range between 7 and 8 is suitable for Ashwagandha. If your soil is acidic, add lime to raise the pH and make it ideal for your ashwagandha plants.
In addition to pH adjustment, consider incorporating organic matter into the soil. This can be done by mixing in well-rotted compost or aged manure. Organic matter helps to improve soil fertility, moisture retention, and drainage.
By preparing the soil properly, you are creating a nutrient-rich environment for your ashwagandha plants, setting them up for successful growth and development. The following section will dive into planting ashwagandha seeds or seedlings. Stay tuned!
Step 3: Planting and Caring for Ashwagandha Seeds
Planting and caring for ashwagandha seeds requires meticulous attention to ensure successful growth. Begin by selecting high-quality seeds from a reputable source. Once you have your seeds, prepare a seed-starting tray filled with a well-draining potting mix.
Gently press the seeds on top of the soil surface. Ensure not to bury them too deep as they require sunlight for germination. It is crucial to keep in mind that seeds need sunlight to germinate. Mist the soil with water to keep it evenly moist, and cover the tray with a plastic wrap of plastic dome to create a greenhouse-like environment.
Look for a warm spot with indirect sunlight to put the tray and maintain a temperature of approximately 70°F (21°C). Water the seeds regularly to keep them moist, but avoid waterlogging. Germination can take anywhere from 10 to 21 days.
Remove the plastic dome and place the seedlings under grow lights or in a sunny spot when the seedlings emerge. Water as needed, ensuring the soil remains evenly moist. As the seedlings grow, thin them out. This, too, provides sufficient space for each plant to thrive.
The following section will discuss the care and maintenance of ashwagandha plants as they grow. Stay tuned for valuable tips to ensure their healthy development.
Step 4: Maintaining the Health of Ashwagandha Plants
Maintaining the health of ashwagandha plants is crucial for their overall growth and development. Once the seedlings have established themselves, providing them with the conditions and care they need to thrive is essential.
First and foremost, ensure that your ashwagandha plants receive enough sunlight. Each day, they must receive at least 6 to 8 hours of direct sunlight. Place them near a south-facing window or provide artificial grow lights if you’re growing them indoors.
Watering is another essential aspect of caring for ashwagandha plants. While they must be kept consistently moist, it’s important not to overwater them. Allow the top inch of soil to dry out slightly between waterings, and always water at the base of the plants to avoid wetting the leaves.
Fertilizing your ashwagandha plants is also crucial. Use a balanced, organic fertilizer once every four to six weeks during the growing season. This will provide them with the essential nutrients they need for healthy growth.
Please remain vigilant for any potential pests or diseases that could harm your ashwagandha plants. Common pests include aphids and spider mites, while diseases such as root rot can be a threat. Regularly inspect your plants and take prompt action if you notice any issues.
Step 5: Harvesting and Storing Ashwagandha Roots
Harvesting and storing ashwagandha roots is crucial to maximizing their potency and quality. This process should be done at the right time to ensure the plant has reached its peak of maturity.
The harvesting time for ashwagandha roots is typically in the late fall after the plant’s leaves have started to turn yellow and before the first frost. At this stage, the roots are rich in beneficial compounds and have developed their full medicinal potential.
To harvest the roots:
- Carefully dig around the base of the plant, being mindful not to damage them.
- Gently lift the roots from the soil, removing any excess dirt.
- Trim off any long, stringy roots and save the thicker ones.
Once the roots are harvested, they must be adequately dried and stored. Lay them out in a single layer in a well-ventilated area, away from direct sunlight. Allow them to dry completely for several weeks until they become brittle and snap easily.
Make sure to let the roots completely dry out before storing them. To prevent exposure to moisture and air, storing them in airtight containers is essential. Please keep them in a cool, dark place to maintain their potency.
In the next section, we will discuss different ways to use ashwagandha roots and explore their various health benefits. Stay tuned to learn how Ashwagandha can enhance your well-being.
Step 6: Expanding Your Ashwagandha Cultivation
Expanding your ashwagandha cultivation can be rewarding, allowing you to grow a larger quantity of this beneficial herb while deepening your knowledge and expertise. Consider increasing your cultivation efforts once you have successfully grown Ashwagandha and harvested the roots.
One way to expand your ashwagandha cultivation is by saving and replanting the seeds from mature plants. You will notice small green berries forming after the plant has gone through its flowering stage. These berries will eventually turn yellow and contain the seeds. Harvest the berries when entirely yellow and dry the seeds before planting them in well-prepared soil.
It is also beneficial to propagate Ashwagandha through root division. Carefully separate the roots of a mature plant, ensuring that each division has enough roots and leaves to grow independently. Transplant these divisions into new pots or garden beds, providing the necessary nutrients and care.
By expanding your ashwagandha cultivation, you can increase your supply of this powerful herb and share it with others who can benefit from its numerous health-enhancing properties.
Conclusion: The Benefits of Growing Ashwagandha Professionally
Expanding your ashwagandha cultivation and growing it professionally can offer several benefits. Firstly, it gives you a larger supply of this powerful herb. With increased quantity, you can explore various applications of Ashwagandha and enjoy its potent health-enhancing properties in different forms like teas, tinctures, or capsules.
Furthermore, growing Ashwagandha professionally can also open up opportunities for selling your harvest or its byproducts. As the demand for natural remedies and herbal supplements grows, you can turn your cultivation efforts into a profitable venture.
Additionally, cultivating Ashwagandha professionally allows you to contribute to the well-being of others by sharing this beneficial herb with those around you. You can share your knowledge, insights, and even the plants or seeds, helping others integrate Ashwagandha into their health routines.
Remember, by expanding your cultivation efforts and growing Ashwagandha professionally, you benefit yourself and become a valuable resource for others seeking natural remedies and the wellness that Ashwagandha can provide.